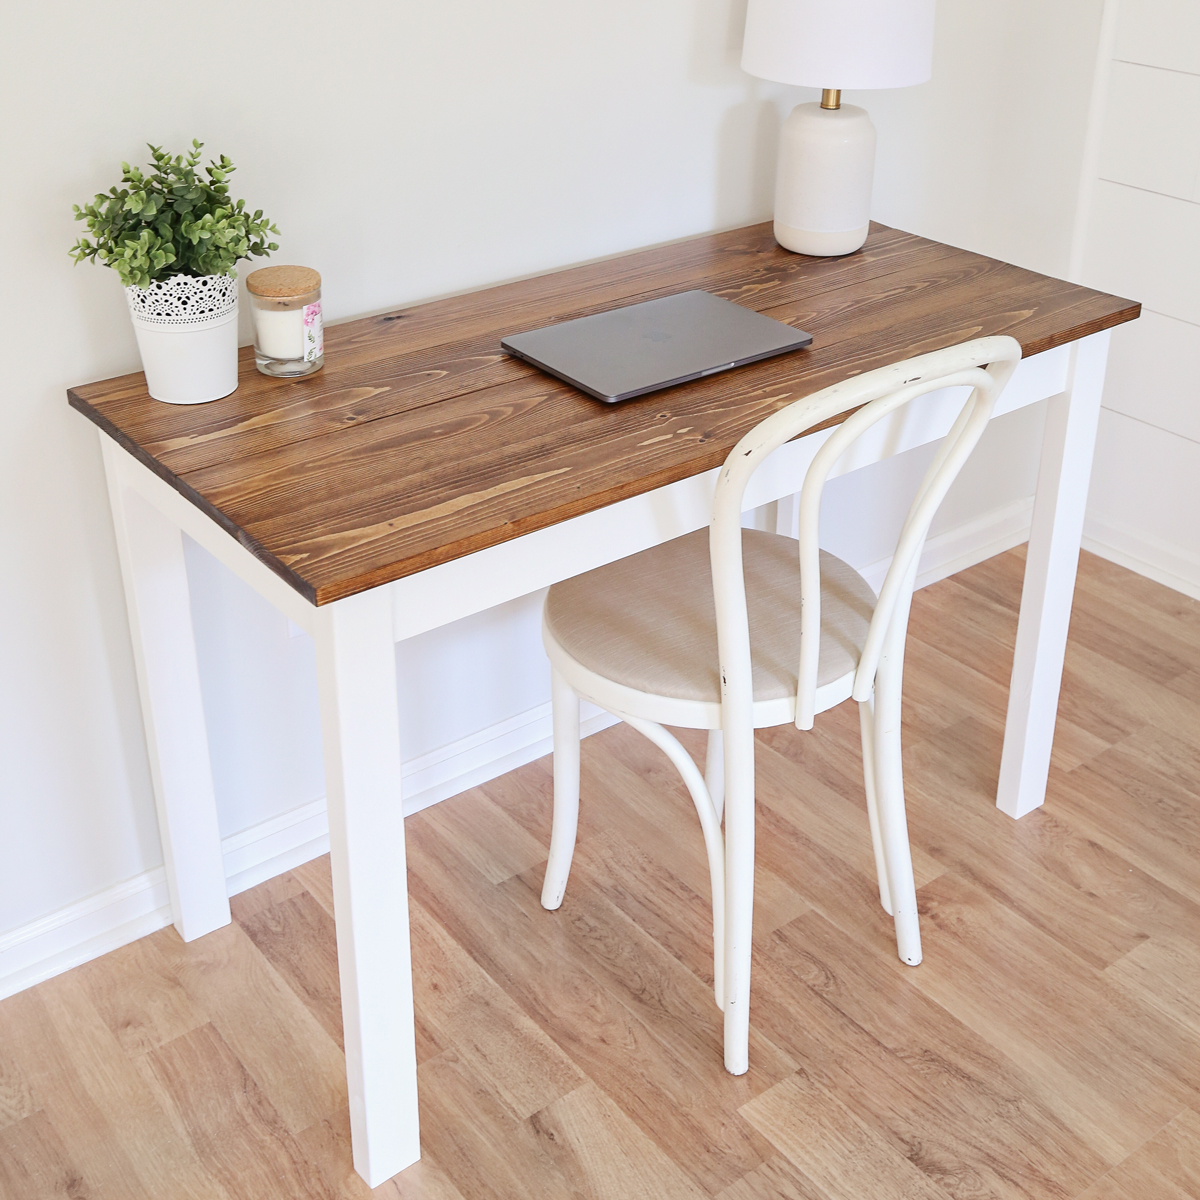
Step-by-step instructions for creating a wooden desk

Crafting a Sturdy Wooden Desk: A Step-by-Step Guide
Creating a wooden desk is a rewarding project that allows you to build a piece of furniture tailored to your specific needs and style. It's a journey that combines precision, creativity, and a dash of woodworking expertise. This guide will walk you through the process, from initial design to the final sanding and finishing touches.
1. Planning Your Desk: From Concept to Blueprint
Before you grab your tools and lumber, it's crucial to have a solid plan. This involves sketching out your desk's design, determining its dimensions, and selecting the right wood for the job.
1.1 Choosing the Right Wood
The wood you choose will significantly impact your desk's durability, aesthetics, and overall feel. Popular choices include:
- Hardwoods like maple, oak, and cherry: Known for their strength and attractive grain patterns.
- Softwoods like pine and fir: Easier to work with but less durable.
- Engineered woods like plywood or MDF: More affordable and often used for desk tops.
Consider the style you're aiming for and your woodworking experience when making your selection.
1.2 Designing Your Desk
Create a detailed sketch or blueprint. This should include:
- Dimensions: Length, width, height, and drawer sizes (if any).
- Shape: Straight, curved, or corner desk?
- Features: Drawers, shelves, keyboard tray, etc.
1.3 Gathering Supplies
Once your design is finalized, assemble your tools and materials:
- Lumber: Based on your design and wood choice.
- Woodworking tools: Saw, drill, router, sander, clamps, etc.
- Hardware: Screws, nails, hinges, drawer slides, etc.
- Finishing materials: Stain, varnish, paint, sealant.
2. Cutting and Assembling Your Desk
Now comes the hands-on part. With your tools and materials gathered, it's time to bring your desk to life.
2.1 Cutting the Wood
Using your saw, cut the wood pieces to the exact dimensions specified in your blueprint. Accuracy is crucial for a well-constructed desk. Mark the cut lines clearly and make sure you're working with the correct grain direction for strength.
2.2 Joining the Pieces
Join the cut pieces using wood glue and appropriate fasteners like screws or nails. Use clamps to hold the pieces together while the glue dries. For intricate joints, consider using a router to create mortise-and-tenon joints, dovetails, or pocket holes, which add stability and visual appeal.
2.3 Adding Drawer Slides
If you're incorporating drawers, install drawer slides into the desk frame. Ensure they're level and aligned for smooth drawer operation.
3. Finishing Touches: Sanding, Staining, and Sealing
After assembling your desk, take time to refine its appearance and protect the wood. This includes sanding, applying stain or paint, and sealing it for durability.
3.1 Sanding
Sand the entire desk with progressively finer sandpaper. This smooths out any rough edges and prepares the surface for staining or painting.
3.2 Staining or Painting
If you're using stain, apply it evenly to the wood. Follow the manufacturer's instructions for drying time. For a painted finish, choose your desired color and apply multiple thin coats for a smooth, even finish. Let each coat dry completely before applying the next.
3.3 Sealing
Apply a sealant to protect your desk's finish from water, scratches, and UV rays. Choose a sealant appropriate for your chosen stain or paint. Multiple thin coats are recommended for optimal protection.
4. Your Desk is Ready! Enjoy Your Creation
With your desk completed, you can enjoy the fruits of your labor. Take a moment to admire its unique design, and bask in the satisfaction of building something beautiful and functional with your own hands.
Comments
Post a Comment